Kichler Chandelier Installation: Your Complete Guide
Simple Kichler Chandelier Installation Instructions for Any Room
The Problem: Daunting Chandelier Installation
Let's face it: staring up at that beautiful Kichler chandelier still in its box can feel intimidating. The tangle of wires, the weight of the fixture, and the fear of messing something up can be enough to make anyone put off the project. You want that stunning chandelier illuminating your dining room or entryway, but the installation process feels like a huge obstacle. That's where we come in. We're here to guide you through a smooth and successful installation, so you can quickly enjoy the beauty and ambiance your new Kichler chandelier brings.
Our Solution: Clear, Step-by-Step Guidance
At Lighting New York, we understand that every homeowner, designer, and contractor wants a hassle-free installation experience. We provide you with the resources and guidance you need to install your Kichler chandelier with confidence. We've compiled information on everything from finding the right Kichler Chandelier Installation Instructions PDF to troubleshooting common issues.
Finding the Right Instructions
The first step is locating the specific instructions for your Kichler chandelier model. Kichler provides detailed instructions with each fixture, but if you've misplaced them, don't worry. You can often find Kichler Chandelier Installation Instructions PDF files on their website or through online retailers. Be sure to search for the model number of your chandelier to ensure you have the correct document. A Kichler Chandelier Installation Instructions Video can also be a great resource for visual learners.
What You Need to Know Before You Start
Before you even open the box, there are a few crucial steps to take to ensure a safe and successful installation.
- Safety First: Turn off the power to the circuit at the breaker box. Double-check with a voltage tester to confirm the power is off.
- Gather Your Tools: You'll need a few essential tools, including a screwdriver set (Phillips and flathead), wire strippers, wire connectors, electrical tape, a voltage tester, pliers, and safety glasses. A ladder is also necessary for reaching the ceiling.
- Read the Instructions: Carefully review the Kichler Chandelier Installation Instructions before you begin. Understand the wiring diagram and the order of steps.
- Check the Parts List: Ensure all the necessary parts are included, referencing the Kichler Chandelier Installation Instructions Parts List. This will prevent frustrating delays later.
Different Kichler chandelier styles require slightly different installation techniques. For instance, installing a Kichler Chandelier Installation Flush Mount will differ from installing one with a Kichler Chandelier Installation Chain or Kichler Chandelier Installation with Downrod. Pay close attention to the specific instructions for your chandelier type.
Installing Your Kichler Chandelier: A Step-by-Step Guide
While specific instructions vary by model, here's a general overview of the installation process:
- Prepare the Ceiling: Ensure the ceiling box is properly installed and can support the weight of the chandelier. If not, you may need to reinforce it.
- Wiring: Connect the chandelier wires to the house wires according to the wiring diagram. Typically, this involves connecting black to black (hot), white to white (neutral), and green or bare copper to ground. Refer to the Kichler Chandelier Installation Instructions Wiring Diagram for your specific model.
- Mounting: Attach the mounting bracket to the ceiling box.
- Hanging the Chandelier: Carefully lift the chandelier and attach it to the mounting bracket. This might involve connecting a chain or downrod.
- Final Connections: Make any remaining connections, such as attaching crystals or shades. If you have a Kichler Chandelier Installation Crystal, handle the crystals carefully to avoid breakage.
- Testing: Turn the power back on at the breaker box and test the chandelier.
Troubleshooting Common Issues
Even with careful planning, you might encounter some challenges during installation. Here are a few common issues and how to address them:
- Chandelier Doesn't Light Up: Double-check all wiring connections and ensure the bulb is working.
- Chandelier Hangs Unevenly: Make sure the mounting bracket is level and the chain or downrod is properly adjusted. Kichler Chandelier Installation Height Adjustment instructions should be followed carefully.
- Loose Connections: Tighten all screws and connectors to ensure a secure connection.
For specific Kichler Chandelier Installation Troubleshooting, consult the instructions or contact a qualified electrician.
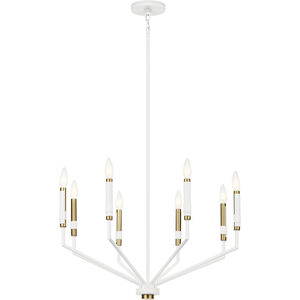
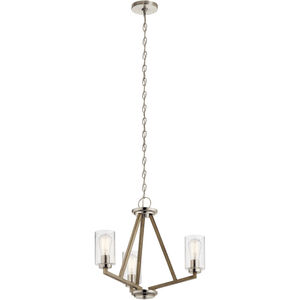
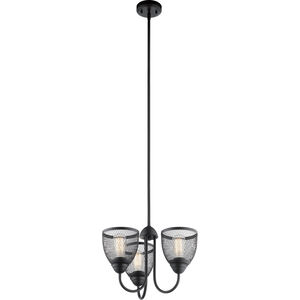
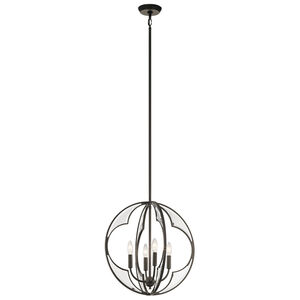
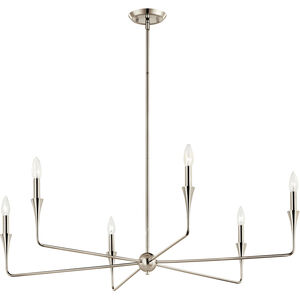
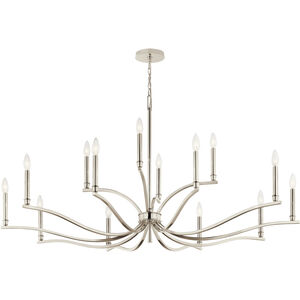
Kichler Chandelier Styles and Finishes
Kichler offers a wide range of chandelier styles and finishes to complement any décor. From the classic elegance of a Kichler Chandelier Installation Traditional style to the sleek lines of a Kichler Chandelier Installation Modern design, there's a Kichler chandelier for every taste.
Popular finishes include:
- Brushed Nickel: A versatile finish that complements many styles.
- Black: A bold and dramatic choice for modern and contemporary spaces.
- Bronze: A warm and inviting finish that adds a touch of rustic charm.
Consider the size and style of your room when choosing a chandelier. A Kichler Chandelier Installation Small might be perfect for a bedroom, while a Kichler Chandelier Installation Large would be more suitable for a Kichler Chandelier Installation Dining Room or Kichler Chandelier Installation Living Room. A Kichler Chandelier Installation over Island requires careful consideration of size and height.
Whether you're installing a Kichler Chandelier Installation Farmhouse, a Kichler Chandelier Installation Drum Chandelier, or a Kichler Chandelier Installation Globe Chandelier, following these guidelines and consulting the specific instructions for your model will ensure a successful and enjoyable installation experience.
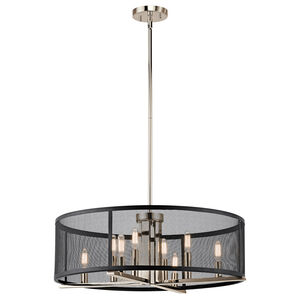


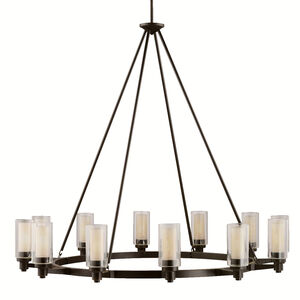
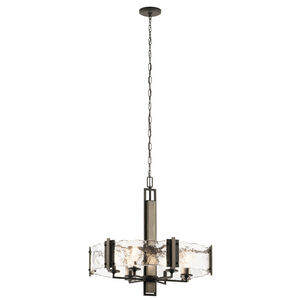
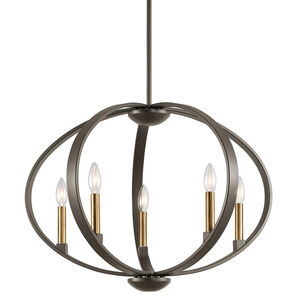
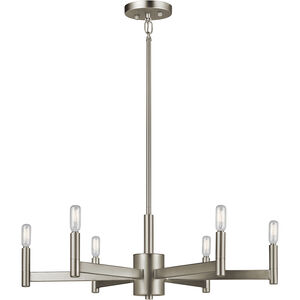


Kichler
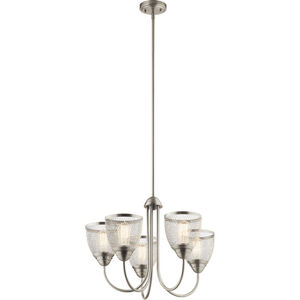
Kichler

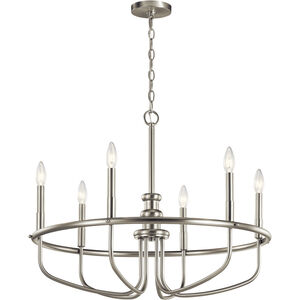
Kichler


Commonly Asked Questions About Ceiling Lights Chandeliers kichler chandelier installation instructions
Q: Where can I find the installation instructions for my specific Kichler chandelier model?
A: Kichler provides clear and comprehensive installation instructions tailored to each chandelier model. These are typically included in the product packaging. If you can't find them there, you can often locate them on the Kichler website by searching for your chandelier's model number, where you'll find a downloadable version!
Q: Are Kichler chandelier installation instructions easy to understand?
A: Kichler is dedicated to providing user-friendly installation instructions. They are designed to be clear and concise, often including diagrams and illustrations to guide you through each step of the installation process. This makes setting up your beautiful new chandelier as straightforward as possible.
Q: Do the installation instructions cover all the necessary steps for a safe and successful Kichler chandelier installation?
A: Absolutely! Kichler's installation instructions are carefully crafted to cover every aspect of the installation process, from preparing the mounting location to making the final connections. However, when dealing with electrical wiring, we always recommend consulting with a qualified professional electrician for a safe and proper installation.
Q: What if I have questions during the Kichler chandelier installation process even after reviewing the instructions?
A: Kichler is committed to supporting its customers! If you encounter any questions or need clarification during the installation process, their customer service team is readily available to assist you. They can provide additional guidance and ensure a smooth and successful installation experience.
Q: Do Kichler chandelier installation instructions include tips for maintaining my chandelier after installation?
A: While the primary focus is on installation, Kichler often includes helpful tips within the installation instructions or in separate care guides on how to properly maintain your chandelier. Following these tips will help ensure your beautiful fixture continues to shine for years to come!